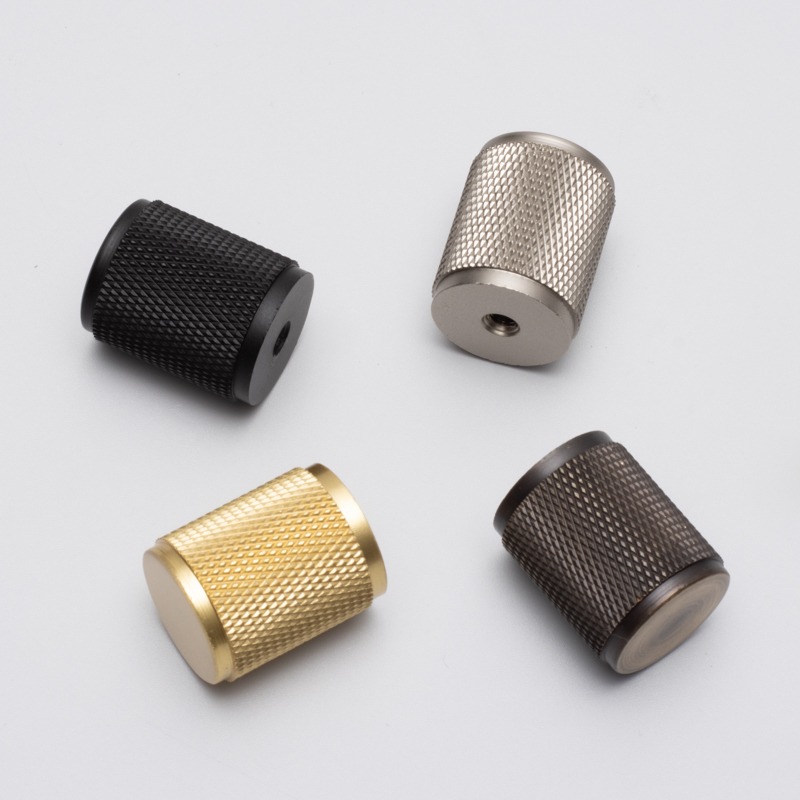
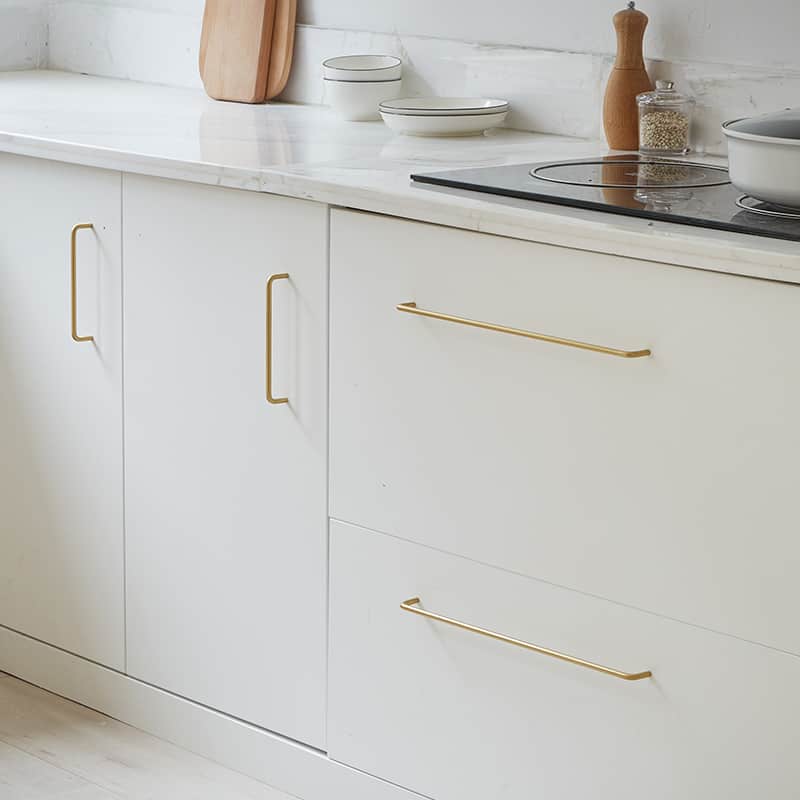

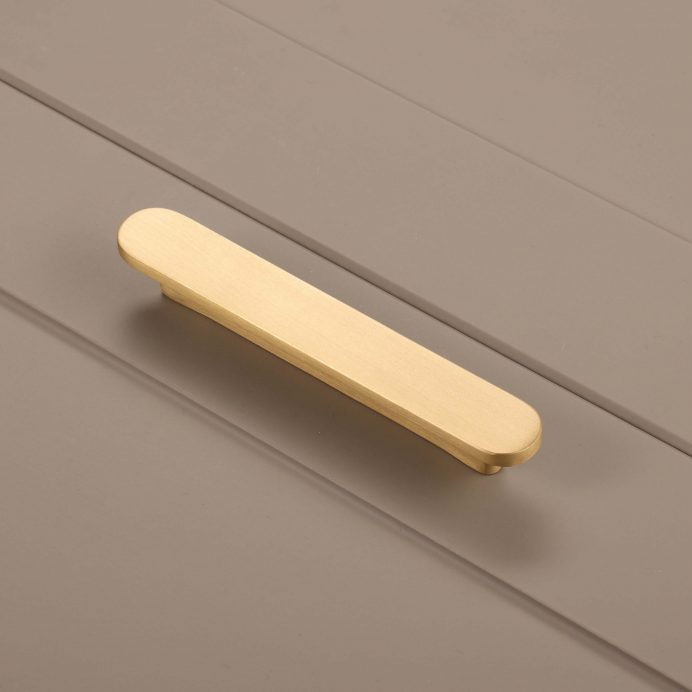
If you’re reading this, then chances are you have a broken brass handle that needs to be fixed and thinking about how to fix broken brass handle. Whether it’s a door handle, drawer pull, or cabinet knob, fixing a broken brass handle is easy and only takes a few minutes.
This article will show you how to remove the old handle, prep the surface for the new one, install the new handle, and make any necessary finishing touches. We’ll also provide some preventative measures to help you avoid having to replace or fix your broken brass handle in the future.
5 Ways To Repair Broken Brace Handle
Remove the Old Handle
To remove the old handle, first, unscrew the set screw that holds it in place. If the set screw is stripped or damaged, you may need to use a drill to remove it. Next, use a flathead screwdriver or a putty knife to pry the old handle off of the door. Be careful not to damage the door surface as you do this. Finally, clean off any old adhesive or residue from the door surface so that it is ready for the new handle.
Prep the Surface For The New Handle
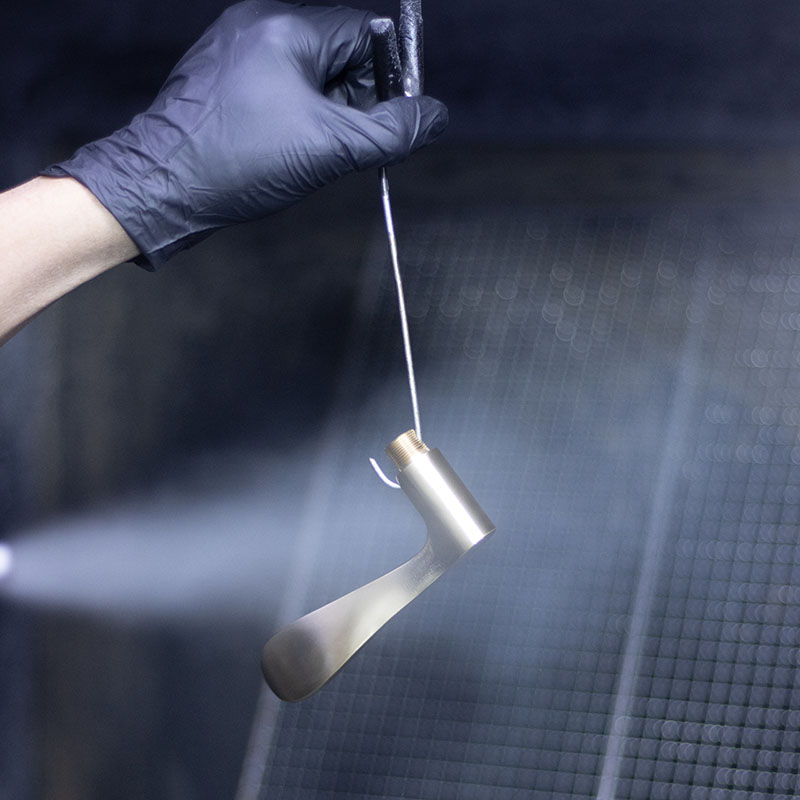
Preparing the surface for your new brass handle is important for two reasons. First, you want to make sure that the new handle will have a good grip and not slip off easily. Second, you want to avoid damaging the new handle during installation. To prepare the surface, start by sanding down the area around the old handle. Be sure to remove any paint or varnish that might be present. Once the area is sanded smooth, wipe it down with a damp cloth to remove any dust.
Next, apply a thin layer of adhesive to the back of the new handle. Be sure to follow the manufacturer’s instructions for the best results. Once the adhesive is in place, press the new handle firmly into place on the door. Finally, use a drill or screwdriver to secure the new handle in place. Be sure to use screws that are long enough to go through both the door and the handle itself. With everything in place, your new brass handle should be good as new!
Install the New Handle
Once you have everything together, you can begin. First, measure the size of the door and the door handle. This will help you determine where to place the handle and what size screws you’ll need. With your measurements in hand, use a level to make sure the handle is properly aligned and mark the spot where you need to drill. Now use the drill to make the hole for the screws.
Next, place the door handle in the hole and use the screwdriver to secure it in place. Make sure you have the screws firmly in place and that the handle is securely mounted. Finally, use a hammer to make sure the screws are properly tightened. And that’s it! You’ve now successfully installed your new brass door handle.
Finishing Touches
After you have installed the new handle, it is important to take some finishing touches in order to ensure that it lasts for a long time. Here are a few things to keep in mind:
- Make sure that the new handle is tightened properly. Over time, handles can become loose and wobbly. This not only looks unsightly but can also be dangerous.
- Inspect the new handle regularly to make sure that it is not coming loose.
- If you notice any damage to the new handle, such as cracks or chips, replace it immediately.
Preventative Measures To Take While Repairing Broken Brass Handles
Maintaining the appearance of your brass door handle is an important part of keeping the door looking its best. A great way to prevent having to replace your brass door handle is to regularly clean and polish it.
Doing this at least once a month will keep the finish looking new and prevent it from tarnishing. You can use a soft cloth and warm, soapy water to clean it, and then use a brass polish to bring back the shine. This will help to keep the handle looking its best for a long time.
Additionally, you can apply a clear coat of lacquer to the handle to help protect it from the elements. This will help to keep the handle looking new and help to prevent it from tarnishing. Doing these two steps will help to keep your brass door handle looking great and last you for years to come.
Conclusion
Fixing a broken brass handle may seem like a daunting task, but it doesn’t have to be. With the right tools and some basic knowledge, you can easily get your brass door handle looking like new again. By following these simple steps, you can have your brass door handle look new in no time.